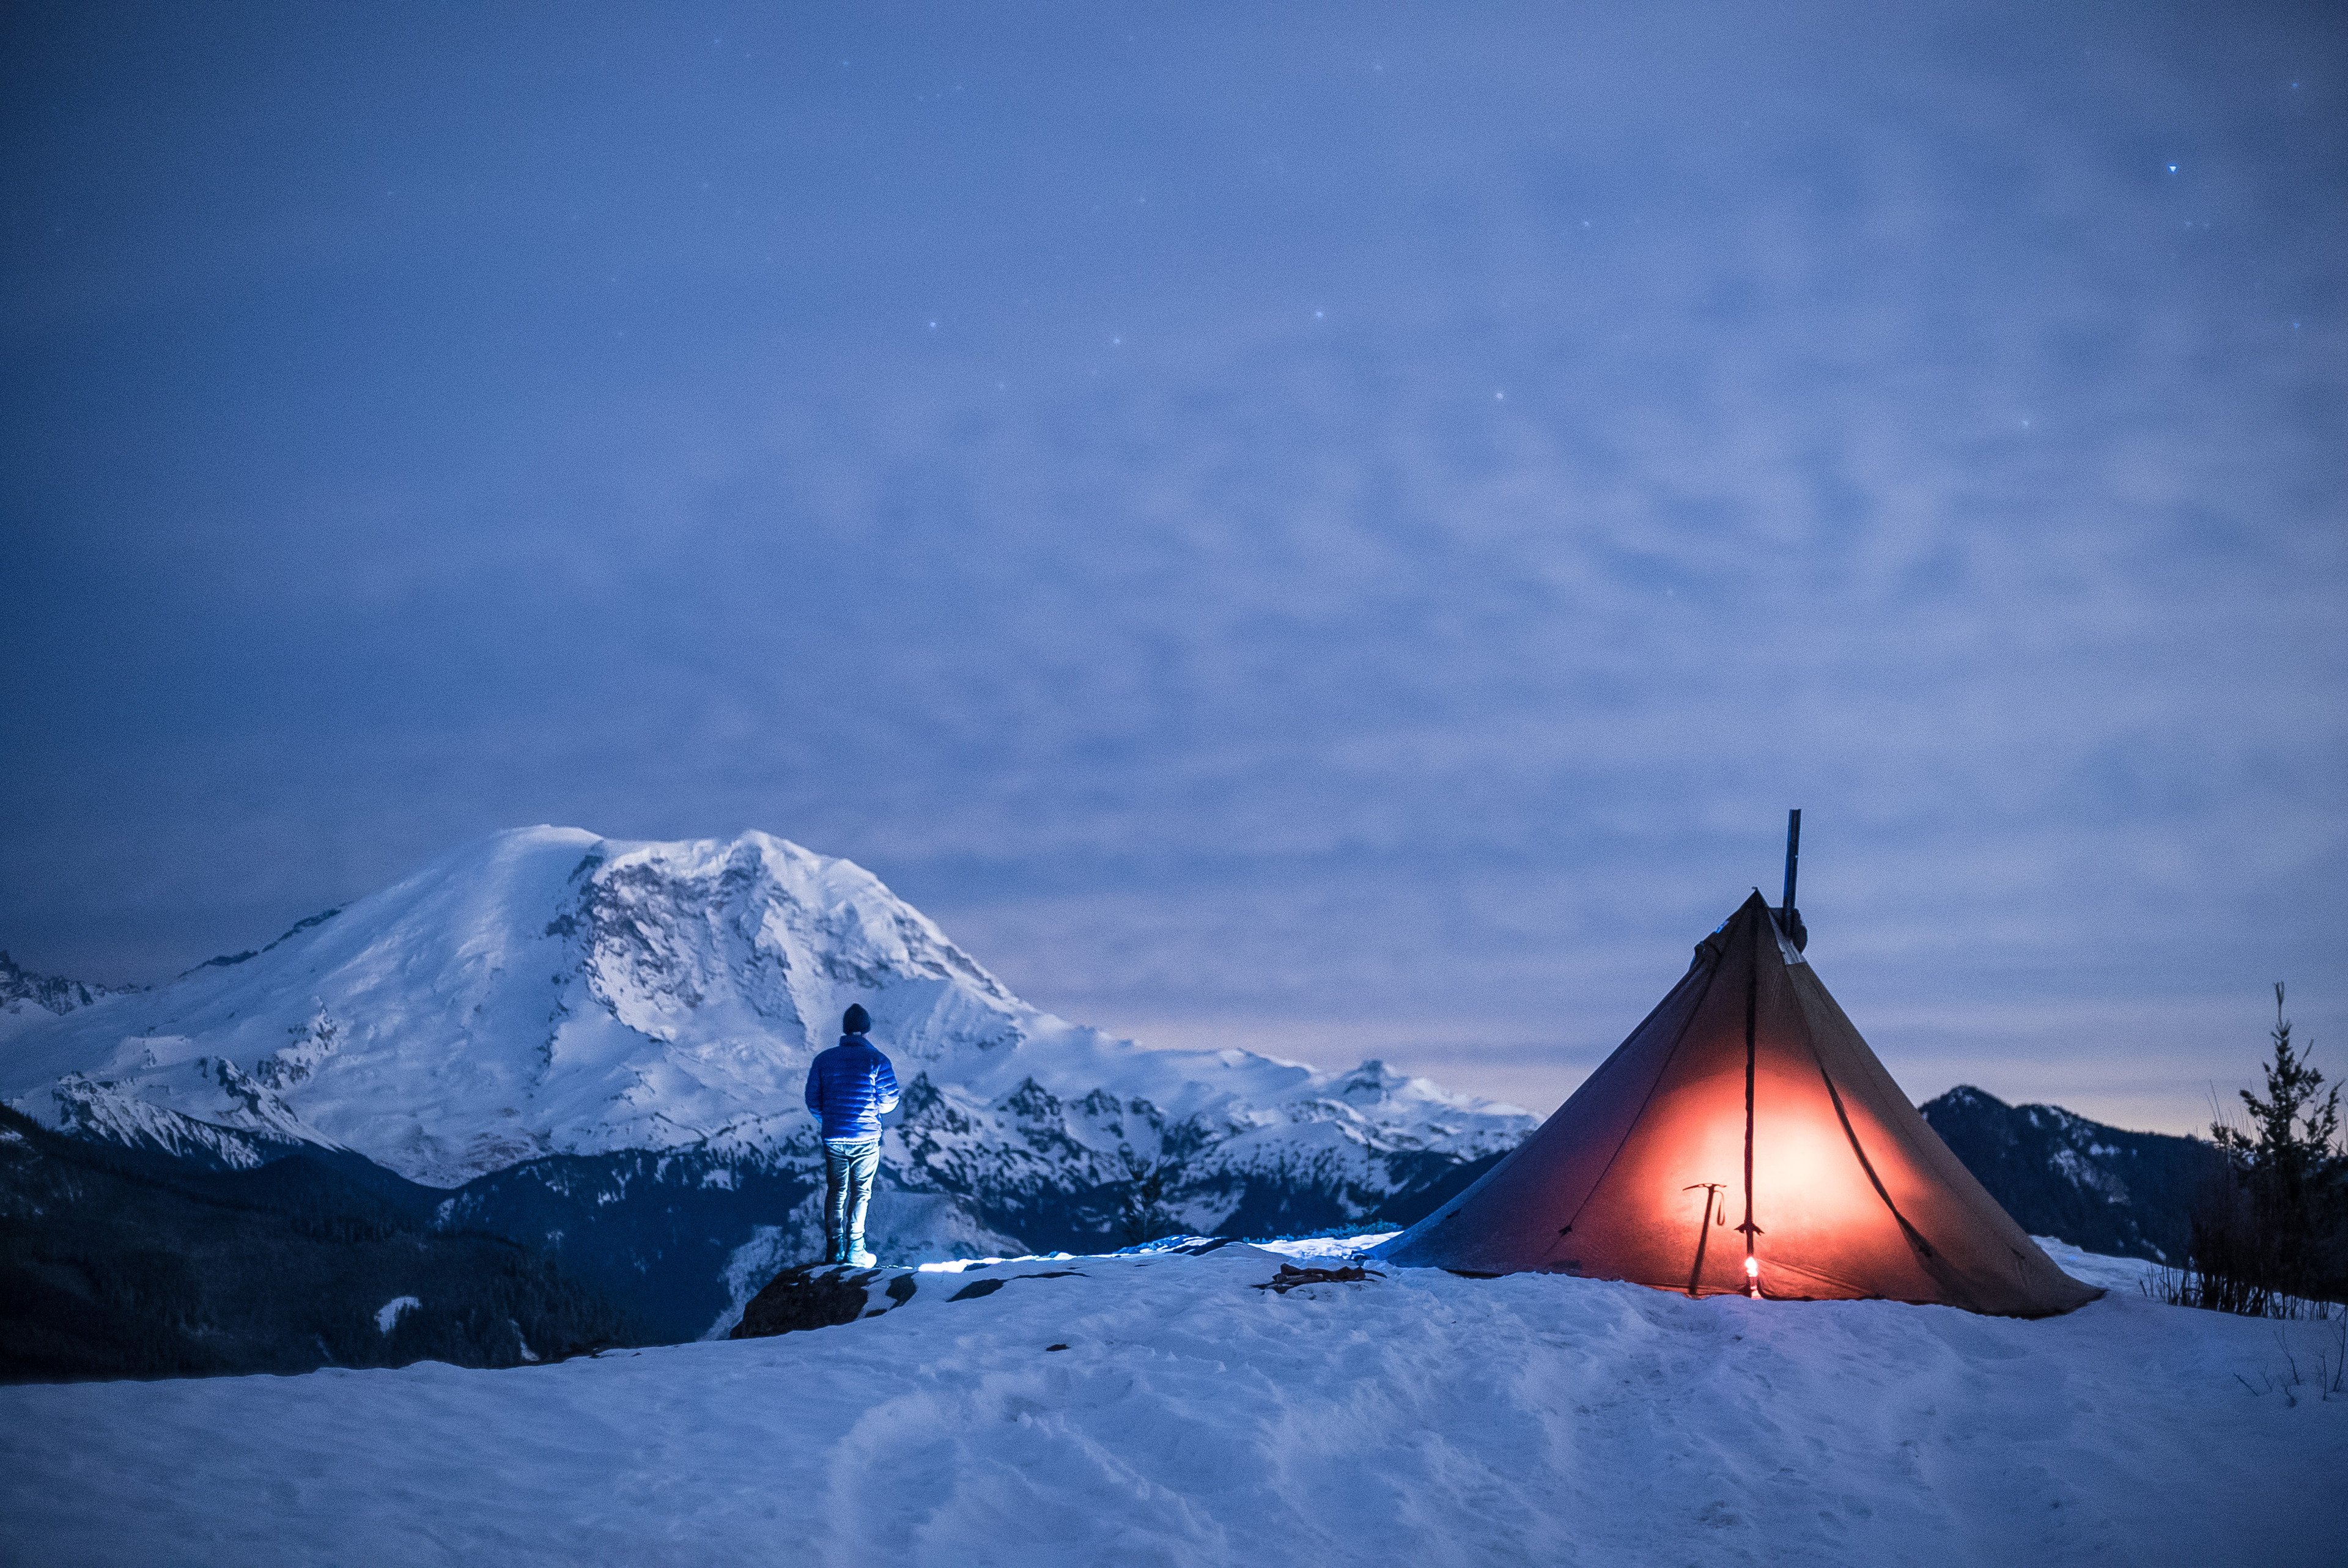
Pitching a high‑performance tipi shelter is part technique, part terrain reading, and part understanding how your Seek Outside tipi is engineered. In this blog we’re going to talk about how to pitch a tipi and how to identify problems with your pitch and any issues you may have.
Summary: Advanced Tipi Pitching Techniques
| Pitch Style | Primary Use Case | Key Action required | Major Benefit |
| Standard Pitch | Everyday use, moderate weather. | Radius setup, normal pole height, perimeter staked to the ground. | Maximum interior space; balanced performance. |
| Flexi Pitch | Bushy terrain, tight spaces, constrained campsites. | Remove one pole section; fold bottom 24" of canopy under. | Small footprint; fits in tricky spots. |
| Snow-Shedding Pitch | Winter camping, heavy snow forecasts. | Raise pole height higher than normal; use all guy-out points. | Steeper walls cause snow to slide off easily. |
| Ventilation Pitch | Hot weather, humid conditions (condensation control). | Use line lock extensions/gatekeeper straps to raise canopy off the ground. | Increases airflow under the sod skirt; cools interior. |
Why Proper Teepee Pitching Matters
A well‑pitched teepee:
- Maximizes interior space
- Improves storm and wind performance
- Reduces fabric wear
- Enhances stove safety and ventilation
- Prevents sagging from wet or snowy conditions
This guide covers standard pitching, radius setup, guyline tensioning, and advanced techniques like flexi pitch, snow‑shedding pitch, and ventilation pitch.
1. Choose the Right Campsite (Tipi Site Selection Tips)
Smart site selection is the foundation of a solid pitch. Look for:
- A clear footprint large enough for your shelter
- Level or gently sloped terrain
- A defined sleeping area
“In general look for a flat and clean area to put your sleeping pad, clean out the sticks or rocks in the area to improve the comfort further. Once you know where your sleeping area is going to be, you can accurately figure out where the pole needs to go and where your general shelter foot print needs to go”.
Once you know pole placement, orient the doors for easy entry and exit.(Bonus tip) orient doors away from the prevailing wind to make entry and exit of the shelter easier.
2. Use the Radius Method for Perfect Door Spacing
Correct door‑to‑door spacing is critical because zippers have almost no stretch. This means the radius must be nearly exact for a proper pitch.
“If you start with the correct diameter between the two doors, you’re going to end with a properly pitched teepee.”
Three Radius Methods
- Cord Radius — Use a pre‑measured cord (e.g., 9'5" for a 12‑person teepee).This is an easy and ultralight way to make your pitch perfect every time.
- Marked Pole Method — Mark your pole at the correct radius and use it as a compass.
- Setback Method — Fastest but most variable; uses canopy setback distance (≈54" on a 12‑person). Bonus tip: Folding the stake point over the upper guy out gets you really close. Do this for one side only.
These methods ensure your tipi has the best chance at a perfect pitch which will prevent tension issues later.
3. Spread the Canopy & Rough‑Stake the Perimeter
After setting the door stakes:
- Spread the canopy in a semicircle
- Stake main seams halfway (not fully)
- Leave mid‑panel stakes for later
This creates a flexible perimeter you can adjust once the pole is up.
4. Raise the Center Pole & Evaluate the Pitch
Before raising the pole:
- Open the stove jack if you plan to use a Titanium wood burning stove
- Open the peak vent for maximum ventilation
- Avoid unzipping the door fully on large and tall shelters (such as the 8 person tipi) unless you’ve tied cordage to the zipper pull. This will help reach the zipper pulls as they can be hard to reach if the door is fully open.
Once standing, walk the perimeter and look for:
- Tight seams
- Slack seams (common if your shelter is pitched too tall or the diameter is too short)
- Bell‑shaped walls (common on slopes, too low of a pitch height, or if your shelter is pitched too wide)
Adjust stakes inward or outward to balance tension. Pro Tip: You can always adjust the center pole to be taller to tighten all the seams, look for all seams to have even tension.
5. Use Guy Lines to Fix Slopes, Obstacles & Bell Shapes
Guy lines are essential for:
- Correcting slope differences
- Pitching around roots, rocks, or trees
- Eliminating bell‑shaped seams
- Improving storm performance
By using the guy lines… you can correct nearly a two‑foot differential in slope.
Use a our line loc extension kit for adjustable tension. Redirecting the guyline can also change pull angle, increase stability, and increase interior space.
6. Final Tensioning: Adjust Pole Length
Shelters can stretch. After initial setup:
- Lengthen the pole slightly (generally one click in the adjuster)
- If on loose ground place a small rock to give the pole more surface area allowing it to sink in the dirt or snow less
This step often transforms a decent pitch into a great one.
7. Advanced Teepee Pitching Techniques
Seek Outside teepees are designed for versatility. Here are the specialty pitches:
Flexi Pitch (Tight Spaces & Brushy Terrain)
- Remove a pole section
- Fold the bottom 24" of canopy under
- Stake out using guy‑out loops
Great for constrained or brushy sites.
Snow‑Shedding Pitch (Winter & Heavy Snow)
- Raise the pole higher
- Attach guy lines to all guy‑out points
- Create a steep upper wall so snow slides off
This reduces the need for constant snow clearing.
Ventilation Pitch (Hot Weather & Condensation Control)
- Attach line lock extensions or shelter gatekeeper straps
- Raise the canopy to allow airflow under the sod skirt, therefore increasing ventilation
- Pair with a nest for bug protection
Excellent for summer camping or humid conditions.
8. Helpful Accessories for Better Teepee Pitching
Seek Outside offers several accessories that improve pitching ease and performance:
- Line‑lock extension kits — Lightweight, easy tensioning
- Shelter gatekeeper straps — Great for canopy‑up/nest‑down ventilation
- Atwood Reflective cordage — Highly visible at night
These tools make setup faster and more reliable in challenging terrain.
- Practice!
Ultimately, like everything in life. Things get better with practice, tipis are different from traditional dome/freestanding shelters.
- Watch
Watch the full video here
How To Pitch A Tipi - Deep Dive
Final Thoughts
Pitching a tipi is a skill that improves with practice. We highly recommend setting your shelter up before a big trip on flat ground such as your yard. This helps ensure that you know your shelter well and makes pitching in the backcountry much easier!
With the right radius/diameter, smart adjustments, and a few advanced techniques, you can pitch confidently in almost any terrain or weather. Practice makes perfect!